A few weeks back I mentioned wanting to work on projects around the house rather than using my free time to spend money acquiring new things. Well, this weekend I finally followed through on that...err...sort of...
I actually had to buy new things for this project, BUT I did use a found item, and I did spend quality time with a loved one in the process. Some progress is better than no progress, right? Baby steps, people, baby steps.
I thought I would share the fruits of my labor (mostly Jerry's) with you guys, because what's the point in doing a project like this if you are not going to share it (show off) on the Internet. Don't worry, I'm not going to turn this into some kind of DIY blog. The crappy outfits and dreary musing will be back before you know it.
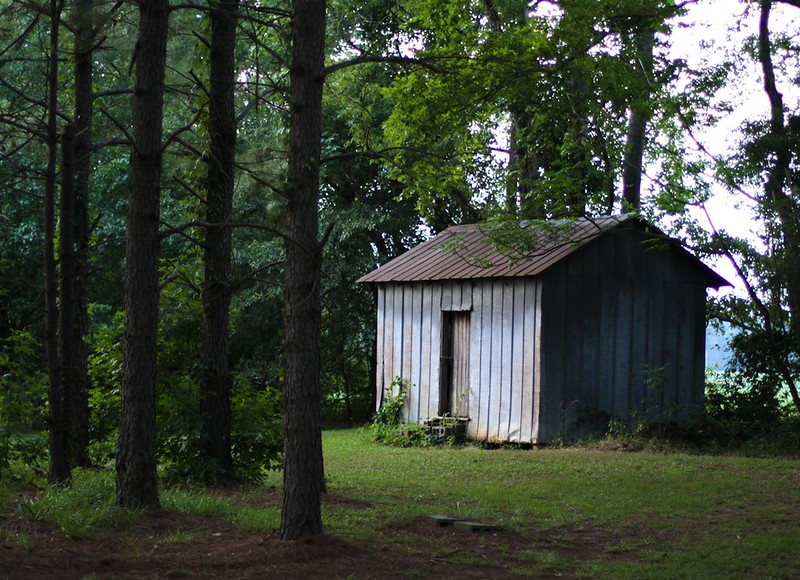
So, way back when we first moved into our house, Jerry went exploring and discovered all sorts of old stuff in the little building in the back yard. Old tools, a pair of antique spectacles, and even an old rusted out toy gun were just a handful of the items he found.
The most important of these finds for today's discussion were some old, weathered boards. I like to call them "found" boards because I'm always seeing "found" items in the Pottery Barn catalog, and it just makes everything sound fancier. Anyway, we really needed a good rack to hang coats on when walking into the front door, and I had been lusting over the Schoolroom Hook Rack from Anthropologie for some time, but after finding this wood, Jerry and I both agreed that making our own rack would be much more fun.
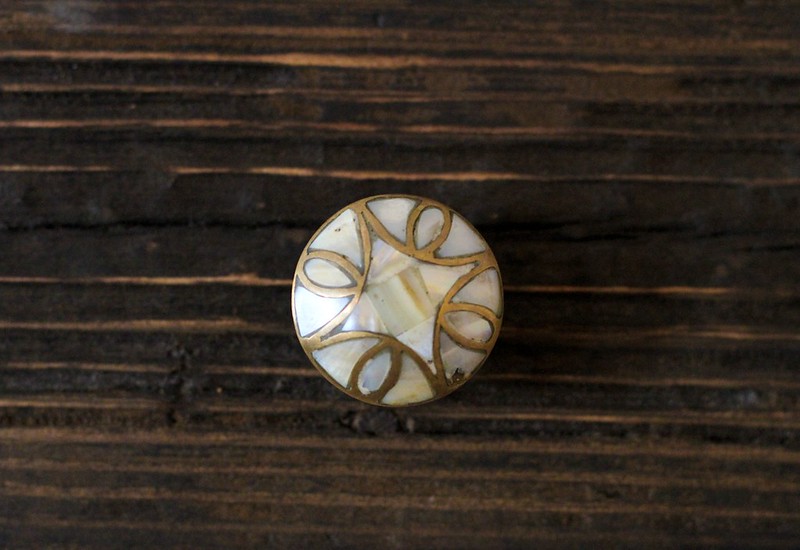
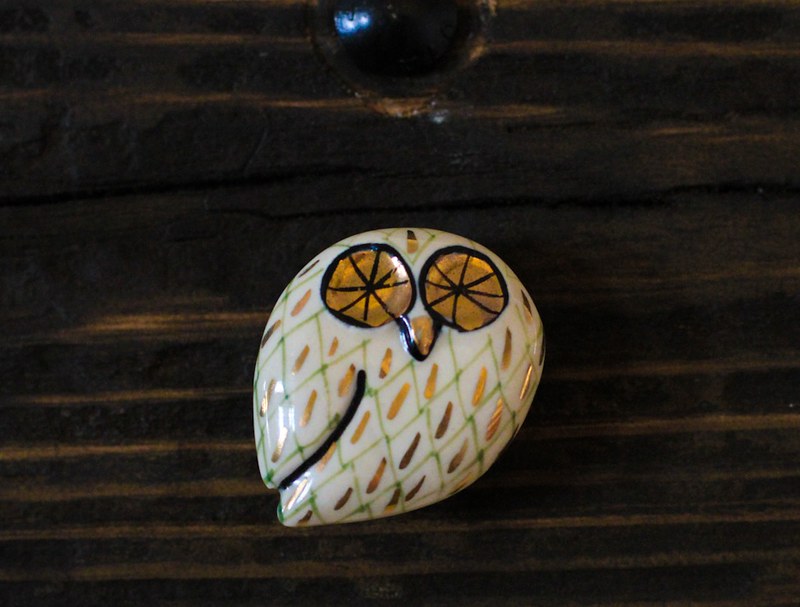
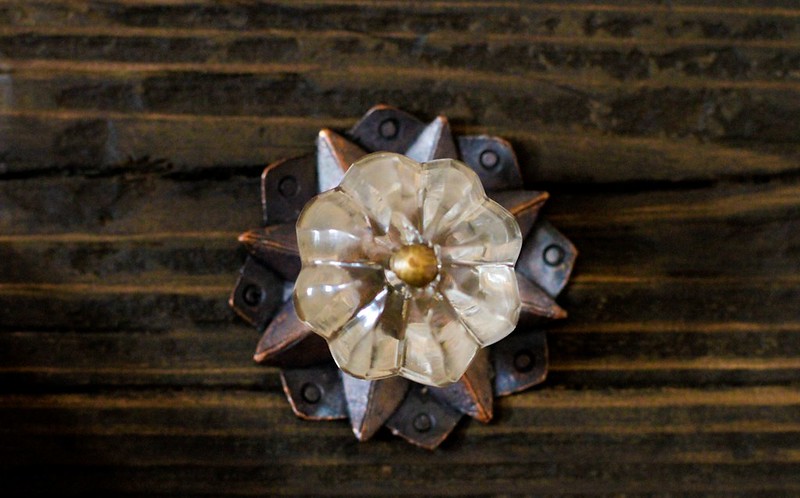
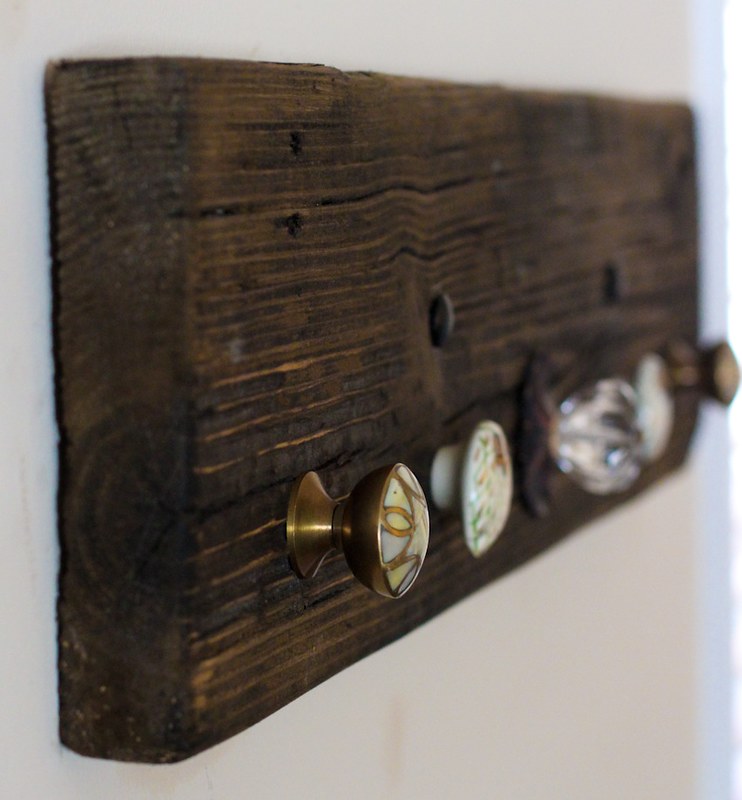
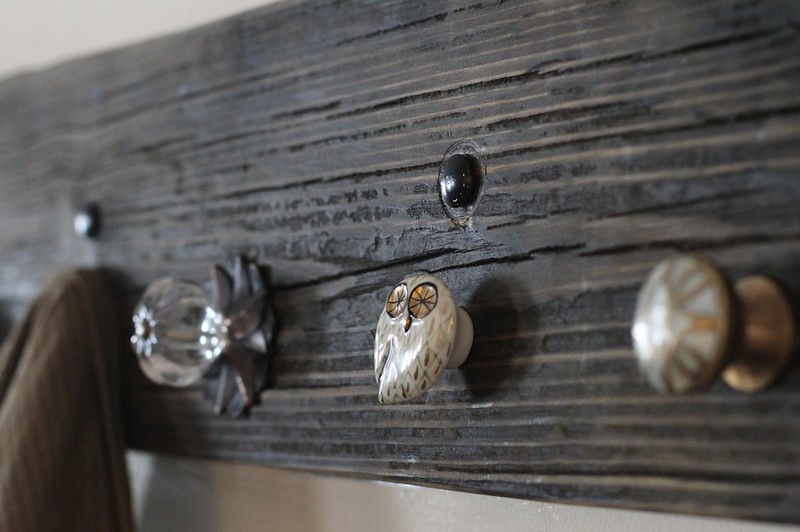
The first step was a trip to Lowes to purchase an inexpensive handheld sander, some bolts to secure the piece to the wall, and the wood stain of our choice. While Jerry worked on sanding, staining, and cutting the wood down to the appropriate size, I browsed Anthropologie's website for hooks and/or knobs. Yep, I'm a regular weekend warrior when it comes to DIY projects. We had a trip planned to our closest Anthropologie store, but browsing online first gave us an idea of what Anthro had to offer. We ended up going with 3 different knob designs that we thought represented our style and complimented each other.
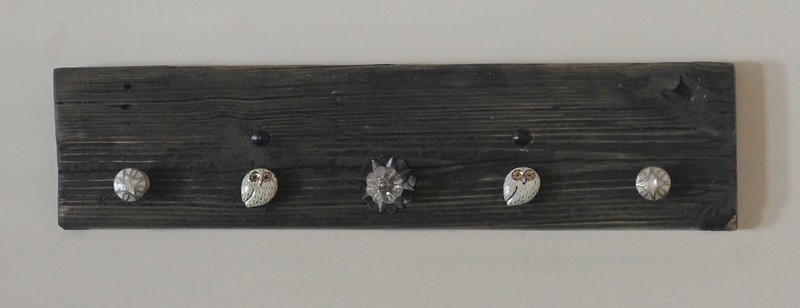
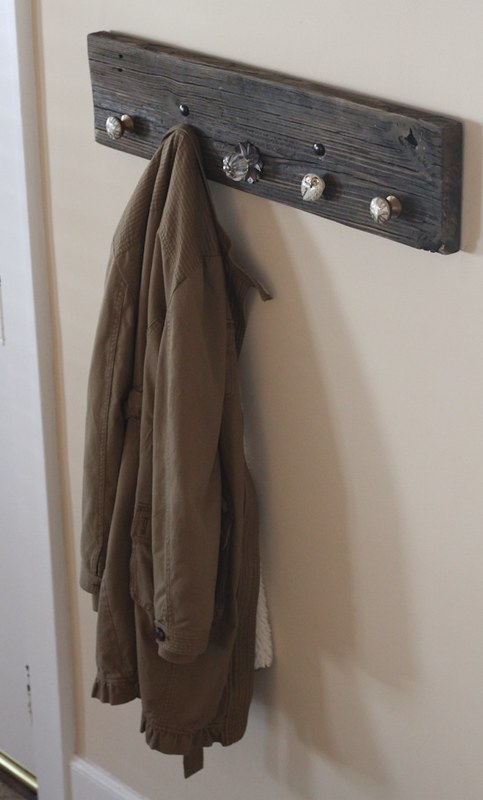
Once the knobs were purchased and the wood was sanded and stained, we attached the knobs to the wood and then secured it all to the wall with bolts and Quik-Crete. With that, folks, we had ourselves a found knob rack. Here is the finished project:
I only have one coat hanging on it for picture purposes, but, trust me, this rack gets plenty of action. (Yes, pun intended.)



Love this weathered look, Bonnie! Owl knobs are so sweet, want them. Thanks for sharing.
ReplyDeleteThat coat rack looks great! Love it!!
ReplyDeleteI never think of small details like knobs but those are so adorable!
ReplyDeleteWonderful! And sooo much better than just buying one, because when people ask where you bought it, you get to say, "we made it!" Love it. I'm in the process of stripping an old door down to the original wood, then painting the panels with chalkboard paint to make a huge to-do list chalkboard for my kitchen. So satisfying... (rack, action pun? hilarious...)
ReplyDeleteAbsolutely love this post! Your rack turned out beautifully and has much meaning because of what you used to make it! Also love that little building in your yard. And, love your sense of humor!
ReplyDeleteGet out of town! I have been scouring etsy and the web for a cute little coat rack like this one. I may be inspired to make one similar to yours now. Thank you for the inspiration!
ReplyDelete